
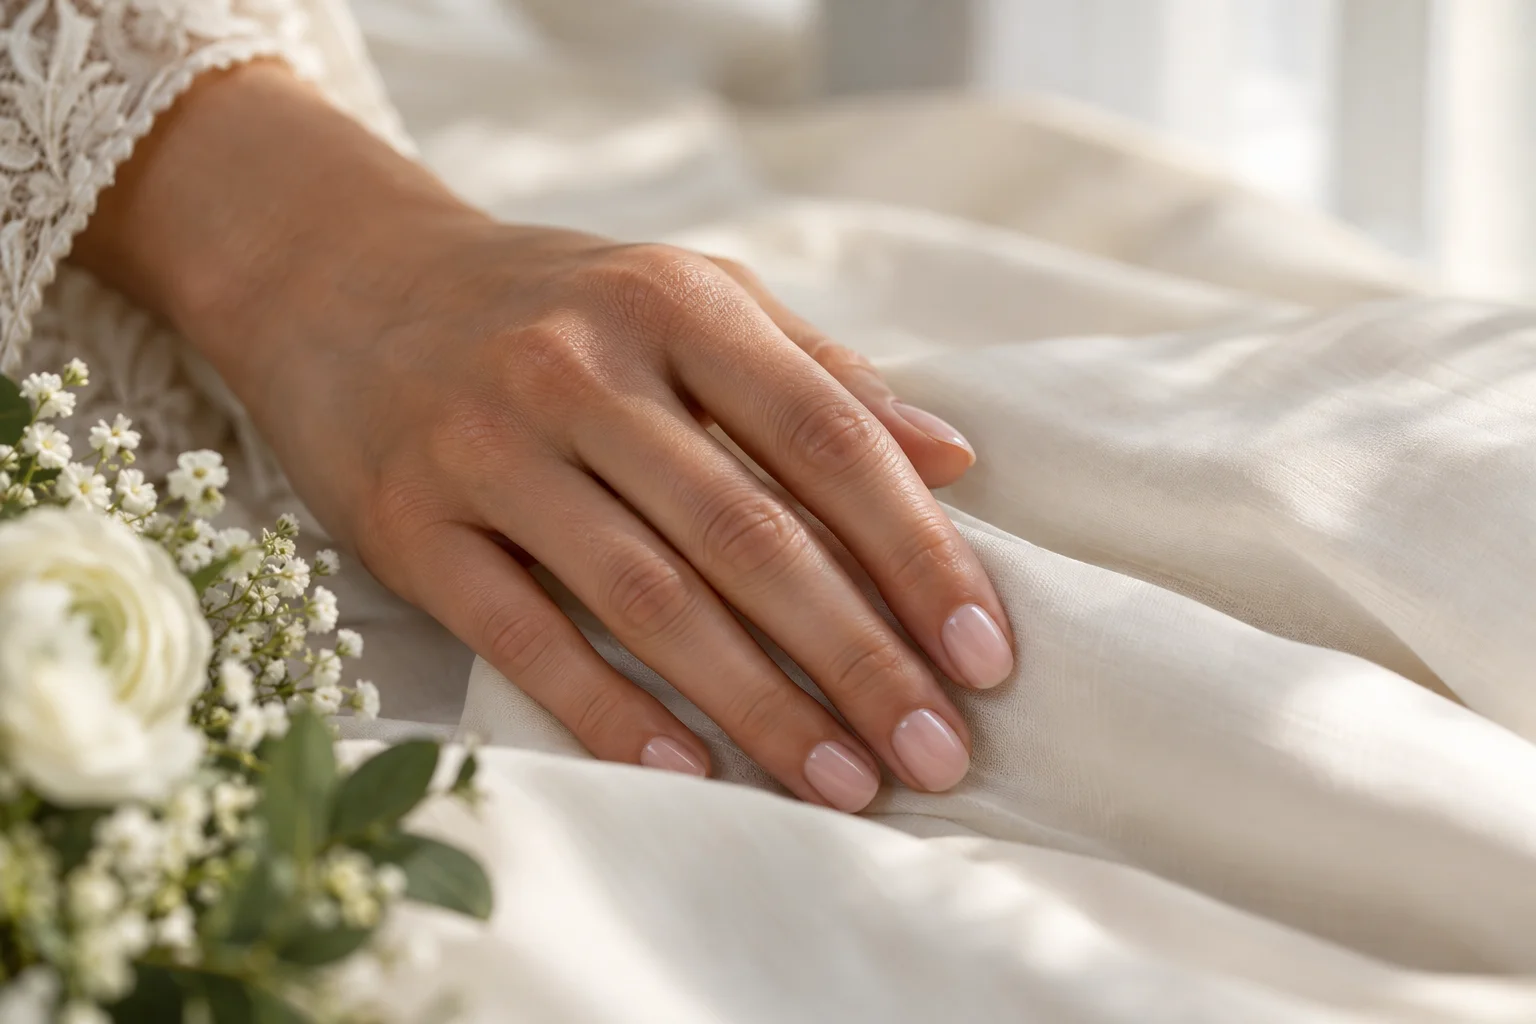
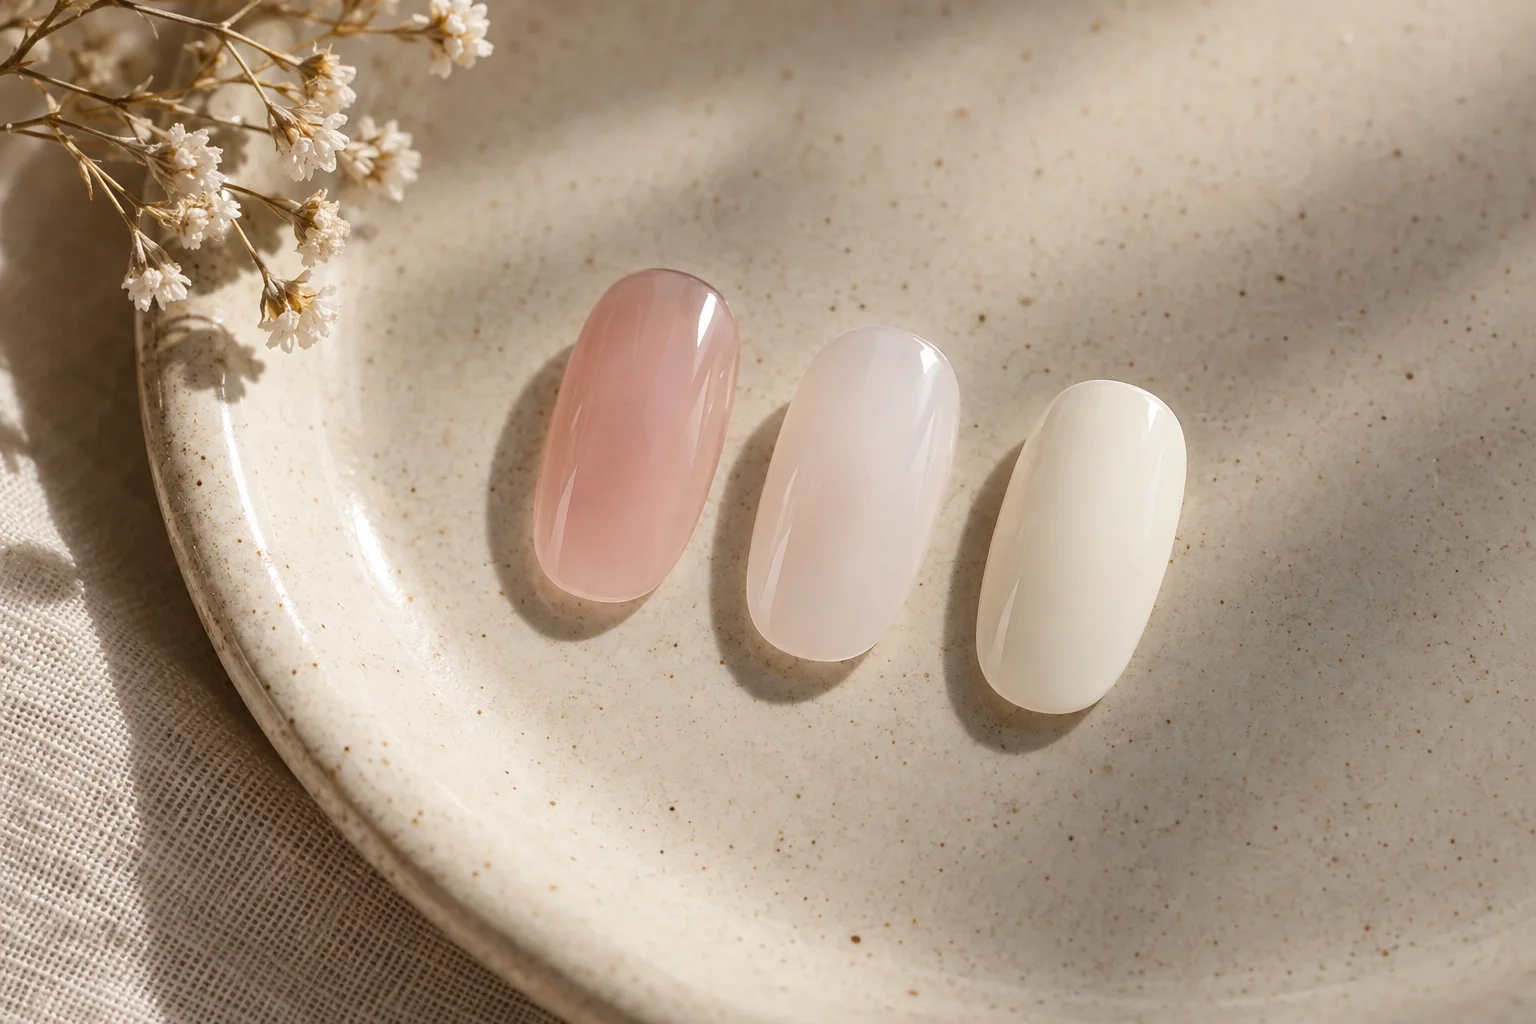
Choose your bridal manicure’s coverage by deciding whether you want your natural nail tips clearly visible, faintly visible, or concealed. Then choose the color and shine separately. A translucent pink, a milky white, and a solid cream-colored manicure are useful starting points—not three standardized coverage levels.
You do not need to know the perfect shade name. A clear description of what should show through, followed by a sample comparison, gives your nail artist a more useful brief than “bridal nails” alone.
1. Decide how much natural nail you want to see
Coverage means how much of the underlying nail remains visible through the color. Look at the boundary between your nail bed and the lighter tip. Do you want that contrast to remain part of the finished manicure, become less noticeable, or disappear beneath solid-looking color?
| Desired result | What to tell your nail artist | What to check in a sample |
|---|---|---|
| Visible tips | “I want to see my natural tips through the color.” | Does the color leave the amount of nail detail you like? |
| Softened tips | “I want my tips faintly visible, not sharply defined.” | Is the tip line too noticeable, or has too much been concealed? |
| Concealed tips | “I want solid-looking color with no visible natural tip.” | Does the finished sample give you the coverage you wanted? |
These are consultation choices, not product grades. Visible tips are not a flaw; they may be exactly what you like about a sheer manicure.
If you are undecided, compare two neighboring results: visible versus softened, or softened versus concealed. That gives your trial a specific question to answer.
2. Choose pink, white, or cream separately
Color describes the hue you want; coverage describes what you can see beneath it. A request for “soft white” still leaves an important question unanswered: translucent or solid?
Translucent pink
For a pink wash, ask to preserve the nail detail you selected in step one. As a manufacturer-described example, Essie labels Mademoiselle as sheer pink, while its page title also calls it milky. The terms overlap: “milky” does not guarantee a middle level of coverage.
Milky white
Pair the soft-white appearance with a visibility preference: “milky white with faintly visible tips,” for example. In OPI’s white-polish guide, the brand describes Funny Bunny as semi-sheer white and Alpine Snow as opaque, bright white. Both are white, but their descriptions indicate different coverage.
Opaque cream
If you want cream-colored nails, clarify whether you mean warm ivory, neutral off-white, or another shade. Then explicitly ask for concealed tips. Do not let “cream” stand in for both color and opacity: OPI describes I Cannoli Wear OPI as pale, creamy, and gray-toned, but that guide does not establish its coverage. Alpine Snow’s opaque bright-white description does not make it a warm-cream match, either.
These manufacturer descriptions illustrate vocabulary, not independently tested results or product recommendations. Ask to see the options your salon actually offers.
3. Add shine, decoration, length, and shape
Glossy describes the surface, not the coverage. Specify both how much nail should show and whether you want a glossy or matte appearance. Then say whether you want plain color, shimmer, or another decorative effect.
For inspiration, Marie Claire’s wedding-nail editorial includes pink, milky-white, French, and chrome options. You can use a reference for one detail without adopting the entire look.
For instance, “softened tips, pink-leaning color, glossy finish, no shimmer” is more precise than “natural bridal nails.” Add your preferred length and shape to complete the visual brief.
If you bring several images, explain what you want from each: “The short length and rounded shape from this photo, but the pink color from this one.” Also point out anything you do not want, such as the bright-white tips or added decoration.
If your plans involve added structure or length, read what to clarify about gel polish and a gel overlay before booking. Discuss the service alongside your visual brief so the salon can confirm what the appointment needs to include.
4. Compare samples with one question at a time
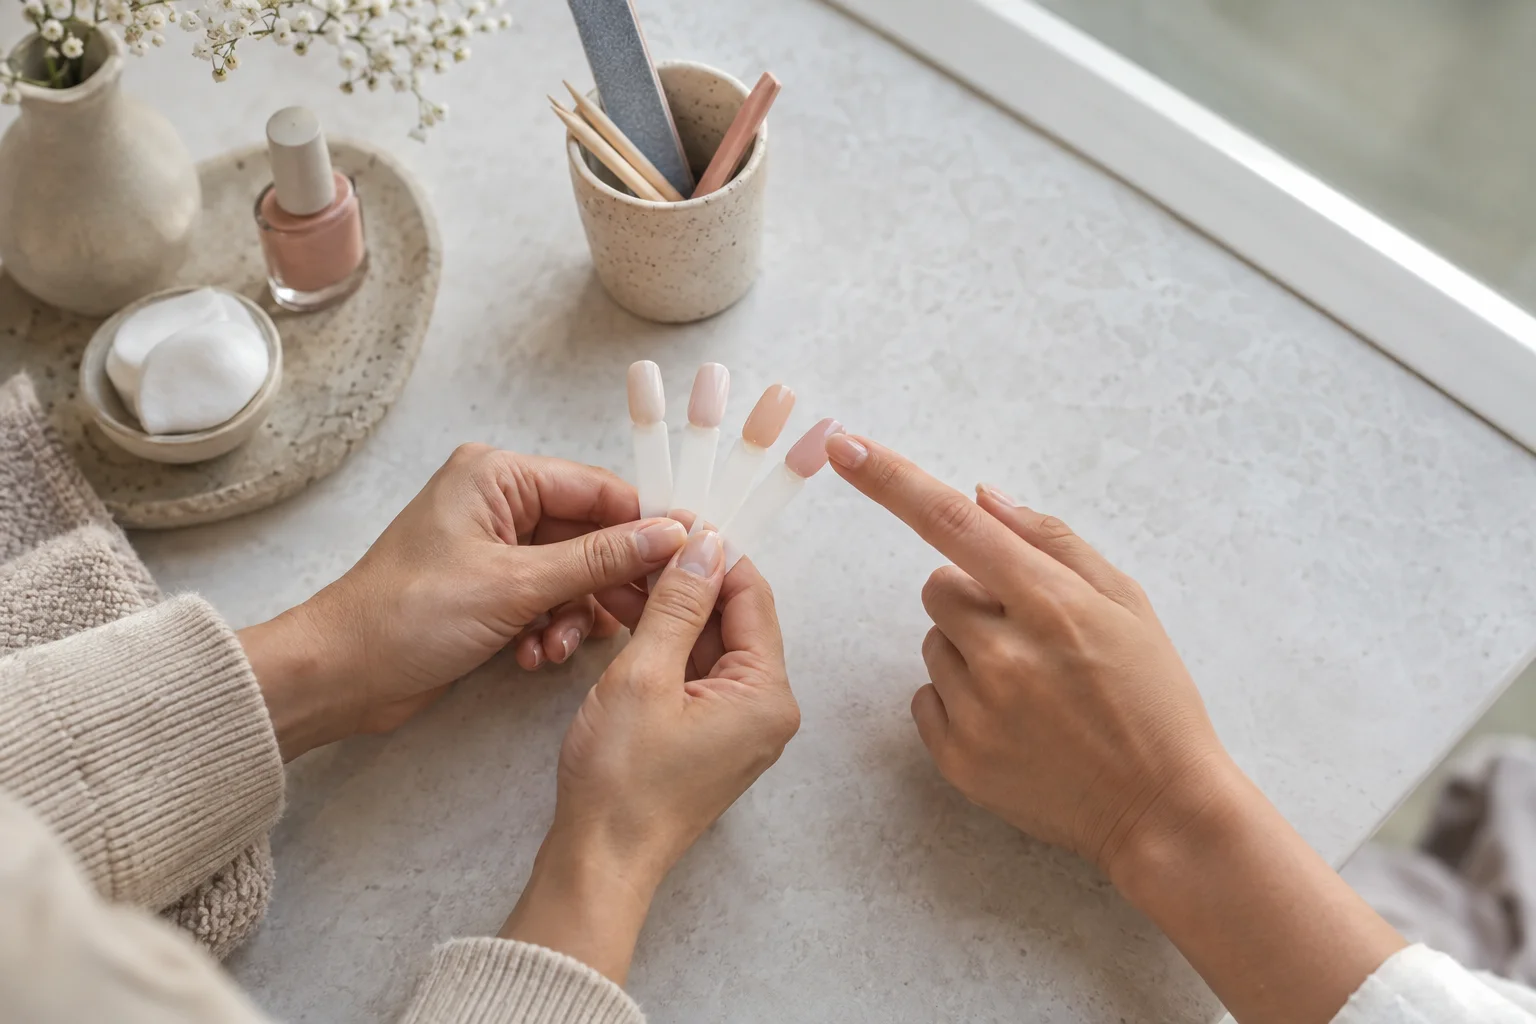
Ask whether the salon can show or prepare two or three candidates, and whether a trial or sample comparison requires a separate appointment or charge. Use the comparison to narrow your preferences rather than trying to find a perfect match to a reference photo immediately.
- Start with coverage. If possible, compare similar colors with different amounts of visible nail detail. Decide which result you prefer before debating small color differences.
- Adjust the color. Describe what feels wrong as well as what feels right: too pink, too stark, too gray, or warmer than you wanted.
- Ask about the intended base. Can the preferred candidate be assessed on the nail base you plan to wear? Treat a sample as a starting point, not a promise of an identical result on your nails.
- Review the complete look. Consider the intended length, shape, and final finish together—not just the bottle color.
- Check different lighting. View the trial indoors and in daylight. Take an unfiltered reference photo to record your preference, without expecting it to guarantee how wedding photographs will look.
Keep feedback specific. If your answer is “I like everything except that my tips show too much,” leave the color choice settled and focus on coverage. If the coverage is right but the color feels too white, say that instead.
Avoid prescribing a universal coat count. Ask the nail professional how the selected product can achieve your requested appearance within its application instructions. The result is your brief; the application method is a separate professional decision.
5. Record the result and confirm the appointment
Once you choose, ask the salon to record the product brand, exact line and shade, any base color or layering combination, and the application details it needs to refer to later. Keep your own notes on length, shape, finish, and anything you want changed after the trial.
If the product or service changes, ask to compare the replacement. Do not assume a shared shade name guarantees the same appearance in another product system.
An illustrative salon brief
“I’d like a short, softly rounded manicure with a pink-leaning milky appearance. I want my natural tips softened but still faintly visible, with a glossy finish and no shimmer. Could we compare a sheer pink and a soft white before choosing?”
This is a description to discuss, not a product formula. Replace its coverage, color, length, shape, and finish with your own preferences.
Before the wedding appointment
- Confirm whether the chosen products and service will be available.
- Agree on trial and wedding-appointment timing with the provider.
- Confirm the appointment scope and price, including any removal of existing product.
- Save the agreed reference photo and a short note about any requested changes.
The useful record is not simply “milky white.” It is the combination you approved, including how much nail remained visible.
A clear bridal manicure brief starts with what you want to see through the color. Choose visible, softened, or concealed tips; add your preferred hue and finish; then compare samples. Specific feedback—“less visible tip, same pink”—can be more helpful than finding another shade name.