
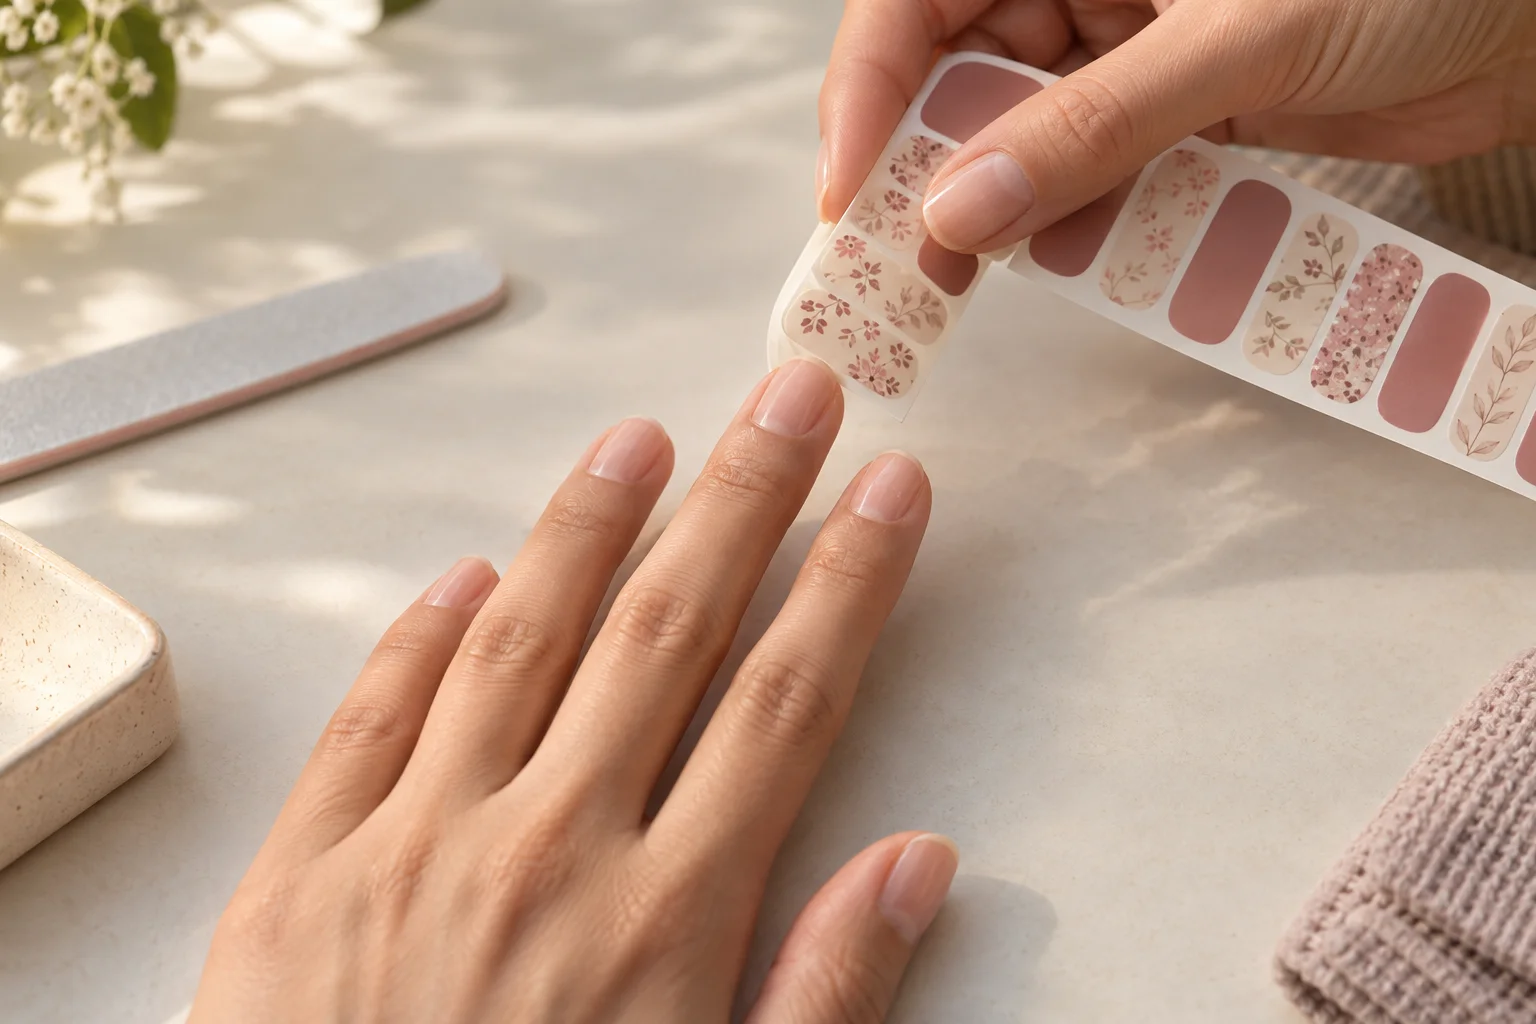
To apply no-lamp nail wraps, choose a width that stays on the nail and off the skin, position the wrap, smooth it using the product’s directions, and file the excess downward at the tip. Check the fit before exposing the adhesive, then finish one nail before repeating the sequence.
This beginner guide covers decorative adhesive wraps on natural nails. It draws on Lily & Fox and Dashing Diva GLOSS manufacturer instructions—not hands-on testing. Their preparation, smoothing, coating, and removal methods differ, so follow the example that matches your product rather than combining them into one routine.
1. Check the product line and gather your supplies
“Nail wraps” can describe different products. This tutorial does not cover structural wraps, extensions, application over enhancements, or strips that require lamp curing.
Check the exact line, not just the brand. Dashing Diva says GLOSS needs no LED lamp, while GLAZE requires one. Lily & Fox describes its wraps as self-adhesive and says they need no heat activation.
Set out your wraps, their instructions, the recommended preparation materials, and a nail file. Read the removal directions before starting so you know which supplies you will need later. A lamp, nail glue, or heat step is not a substitute for following the selected wrap’s instructions.
2. Prepare your nails using the matching instructions
Start with the preparation routine for your product. These two examples are not interchangeable:
- Dashing Diva GLOSS: Wash, use the supplied prep pad, and let nails dry completely. The manufacturer says a base coat is unnecessary; its Base Seal product is optional. See the GLOSS preparation guidance.
- Lily & Fox: Start with clean hands and nails. The company suggests a base coat and advises against quick-dry coatings. Follow its application instructions if using that option.
Do not assume that a coating recommended for one wrap is suitable for another. Nor do these examples establish a universal buffing routine: use only the preparation steps specified for your selected product.
3. Choose the width before peeling the backing
Check the wrap’s footprint: will it sit on the nail without overlapping the skin at either side? Compare widths while the wraps are still on their sheet.
For GLOSS, Dashing Diva recommends curving the sheet over the nail to judge the fit and choosing the smaller size when between sizes. Its sizing guidance and FAQ identify excessive width as one possible contributor to wrinkles.
As a practical comparison, hold two neighboring sizes over the same nail. Look along the sides, not only across the widest point. If one GLOSS strip reaches onto skin and the next size down stays on the nail, the smaller option follows the manufacturer’s guidance.
Check each nail individually. The useful habit is to make the sizing decision before exposing the adhesive—not to assume that matching fingers need matching sizes.
4. Position clear of skin, then smooth
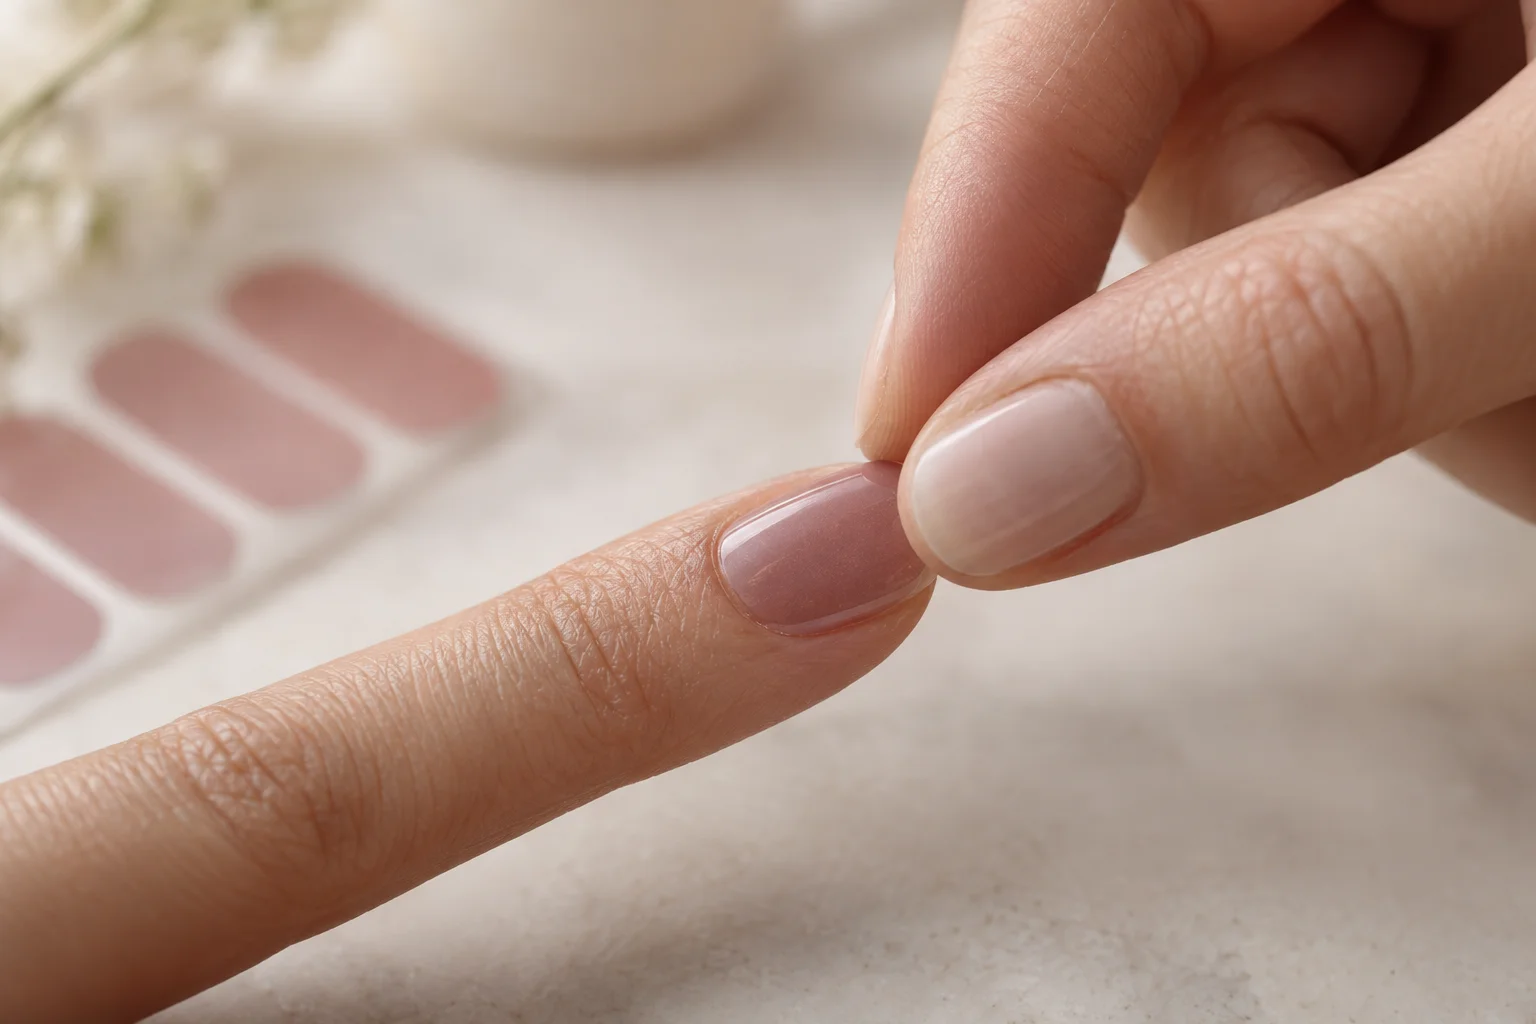
Treat placement and smoothing as separate checks. First, see where the wrap sits around the base and sides of the nail. Then press it down using the method for that product.
Lily & Fox: smooth in a circular path
Remove the clear protective film. Handle the end that will become excess, avoiding contact with the adhesive. Position the wrap at—but not on—the cuticle, then smooth in a circular path around the nail. Lily & Fox permits repositioning and slight stretching in its application directions; that permission does not extend to other brands or lines.
Dashing Diva GLOSS: press from the center outward
Keep the strip clear of skin and press from the center outward. Limit repositioning. If adjustments weaken adhesion, Dashing Diva advises replacing the strip rather than continuing to reuse it. Follow the GLOSS placement guidance.
Before finishing the tip, check both sides and the base again. Address skin overlap according to the product’s directions rather than trying to conceal it with top coat.
5. File the excess downward at the tip
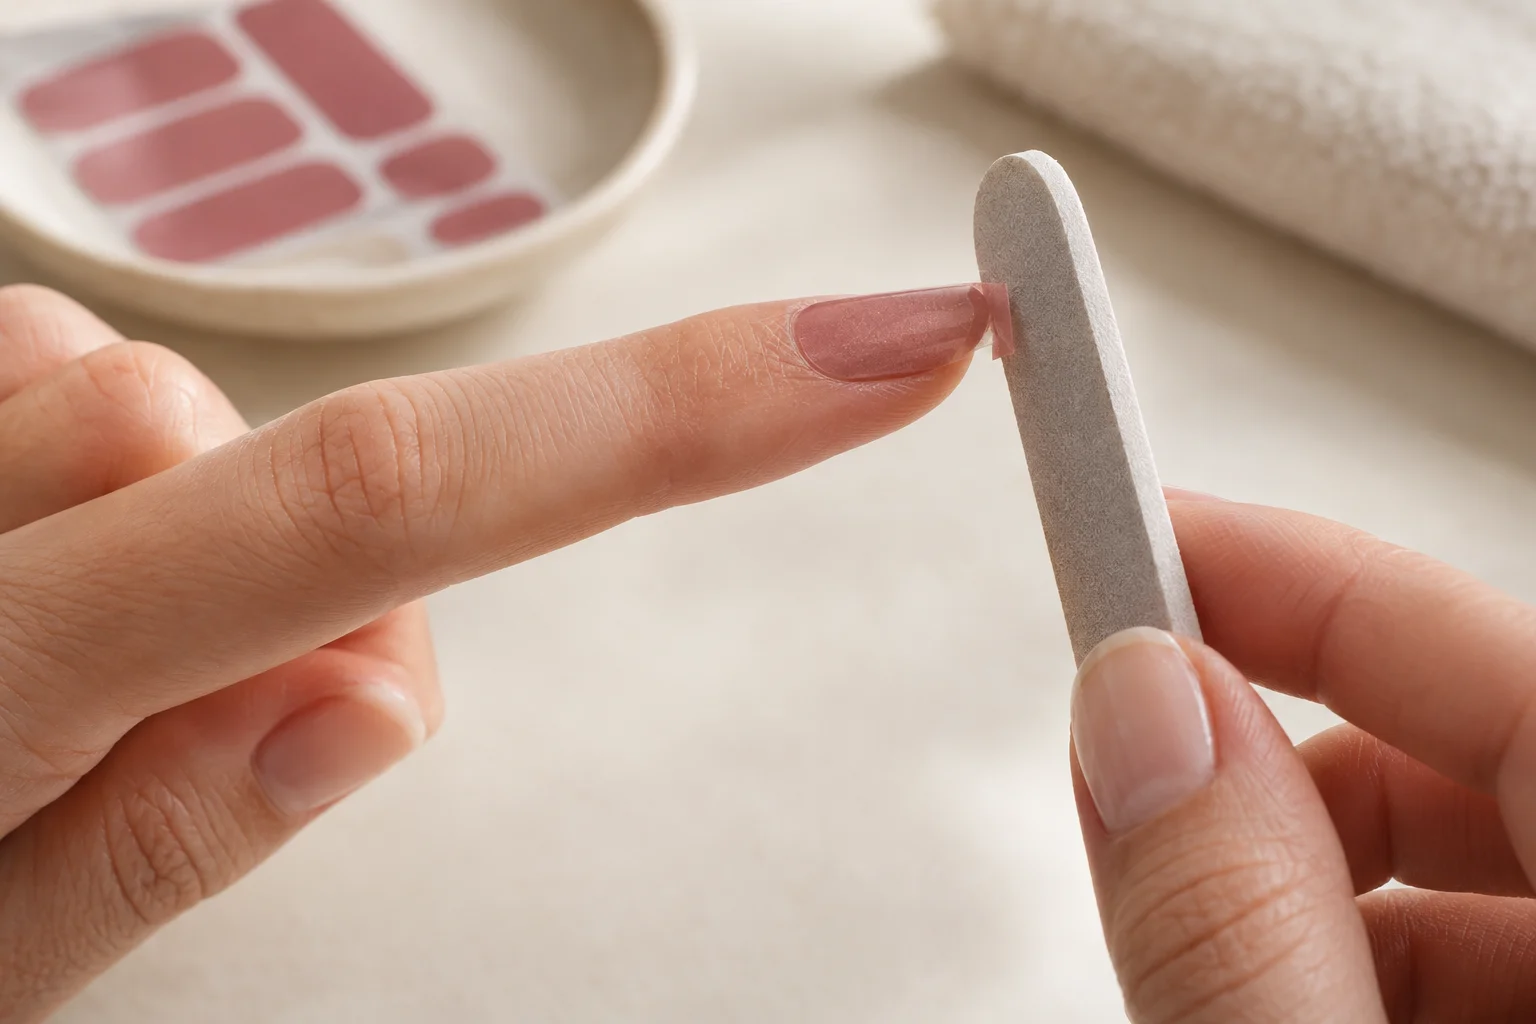
The free edge is the part of the nail tip that extends beyond the fingertip. Once the wrap is smoothed, finish the excess at this edge.
- Follow the product’s edge instructions. GLOSS directs users to fold the excess over the free edge.
- File downward. Both manufacturers specify downward filing, not a back-and-forth motion. Lily & Fox also says not to file upward.
- Let filing separate the excess. Lily & Fox says to file further if the excess resists removal, rather than pulling it.
See the GLOSS application instructions and Lily & Fox filing guidance. The distinction matters: the excess is material to file away, not a tab to tug against the applied wrap.
Use your first completed nail as a checkpoint. Does the wrap stay off skin? Is it smoothed using the correct method? Has the excess separated without pulling? Check those details before moving to the next nail.
6. Check optional coatings and after-application restrictions
Top coat is not a mandatory final step for every wrap. Lily & Fox makes top coat optional and advises against quick-dry coatings. Dashing Diva permits regular top coat for GLOSS. Neither instruction establishes compatibility with every coating you may own.
Plan application for a time when you can follow the product’s restrictions afterward:
- Lily & Fox: Its application page says to wait at least six hours before submerging hands in hot water.
- Dashing Diva GLOSS: Its guidance gives differing waiting periods: the application section says to avoid water, oils, and lotions for at least one hour, while the FAQ says a few hours. Check your package instructions and ask the manufacturer if the timing remains unclear.
These are manufacturer directions, not evidence that a particular application will last a set number of days.
7. Troubleshoot fit, placement, and filing
Before adding another product, review the application. These checks synthesize the GLOSS troubleshooting guidance and Lily & Fox instructions; they are not an independently tested repair method.
| What you notice | Check first | Next step |
|---|---|---|
| Wrinkles | Width, nail curvature, and filing motion | GLOSS identifies these as possible contributors. Recheck sizing and follow its center-outward pressing method. |
| Lifting near surrounding skin | Whether the wrap overlaps skin | Review placement rather than using top coat as a substitute for correct fit. |
| A ragged tip or attached excess | Filing direction | Use downward strokes. Lily & Fox says to continue filing stubborn excess instead of pulling it. |
| Weaker adhesion after adjustments | Repeated repositioning | For GLOSS, replace the strip if adhesion has weakened. |
If the same problem recurs, pause and consult the selected product’s directions. Do not borrow stretching, coating, or preparation advice from a different wrap simply because the products look similar.
8. Remove using the product-specific method
Removal is part of the routine, not an invitation to peel quickly. Lily & Fox describes a nail-polish-remover method: saturate cotton, allow the remover to work, and move the softened wrap toward the nail tip. Its suggested wait is approximately three to five minutes.
Dashing Diva’s GLOSS directions use Magic Off+ and gentle rolling rather than hurried peeling. Follow the method for your product; neither example supports forceful removal or a promise of damage-free results.
If you would rather use brush-on color, compare quick-dry polish with coordinated no-lamp longwear systems. For other decorative methods, explore the Tutorials & Techniques guides.
For your first application, focus on fit, placement, and the finished tip—not speed. Complete one nail carefully, then repeat what worked. Keep preparation, smoothing, optional coatings, waiting periods, and removal tied to the exact product rather than the general label “nail wrap.”